Guides
These guides will help you configure Chassis for specific types of development.
Migrations
Importing A Production Database Into Chassis
Use
sshto connect to your production server. Your host should provide instructions for doing this.Export your production database with WP-CLI
wp db export <filename.sql>.Download your the contents of your
wp-contentfolder on production to your local content folder.Provision a new Chassis instance.
Copy the export into the
contentfolder.Run
vagrant sshin a terminal to SSH into your Chassis box.Run
cd /vagrant/contentRun
wp db import <filename.sql>Run
wp search-replace '//www.yoursite.com/wp-content' '//vagrant.local/content'Run
wp cache flushStart developing.
Alternatively you can use the SequelPro or phpMyAdmin extensions to handle importing and exporting of your databases.
You could also look at using the db_backup extension. You can commit an SQL export as a file called chassis-backup.sql and it should automatically import on install. You will still need to search and replace the URLs.
Exporting A Development Database Into A Production Database
Add the production domain under
- vagrant.localincontent/config.local.yamle.g. -www.yoursite.com.Reprovision with Puppet
vagrant provision.SSH into your Chassis Box
vagrant ssh.Use WP-CLI to search and replace e.g.
wp search-replace '//vagrant.local' '//www.yoursite.com'.Use WP-CLI to search and replace the content urls. e.g.
wp search-replace '//www.yoursite.com/content' '//www.yoursite.com/wp-content'.Export the database using WP-CLI
wp db dump --add-drop-table.Log in to phpMyAdmin on your production server.
Drop the database on your site and import your database dump.
Upload your the contents of your
contentfolder to yourwp-contentfolder on production.You’re done!
N.B. If you getting the Error Establishing a Database Connection message then you’ll probably need to edit the $table_prefix in wp-config.php.
Alternatively you can use the SequelPro or phpMyAdmin extensions to handle importing and exporting of your databases.
WP-CLI
WP-CLI is the command-line interface for WordPress. You can update plugins, configure multisite installations and much more, without using a web browser.
We bundle the latest version of WP-CLI in Chassis. You can access WP-CLI by running vagrant ssh from a terminal. You can check the WP-CLI details by running wp --info inside the Chassis box.
This should result in something like the following:
vagrant@vagrant:~$ wp --info
OS:  Linux 4.15.0-112-generic #113-Ubuntu SMP Thu Jul 9 23:41:39 UTC 2020 x86_64
Shell:       /bin/bash
PHP binary:  /usr/bin/php7.4
PHP version: 7.4.10
php.ini used:        /etc/php/7.4/cli/php.ini
WP-CLI root dir:     phar://wp-cli.phar/vendor/wp-cli/wp-cli
WP-CLI vendor dir:   phar://wp-cli.phar/vendor
WP_CLI phar path:    /home/vagrant
WP-CLI packages dir:
WP-CLI global config:        /home/vagrant/.wp-cli/config.yml
WP-CLI project config:
WP-CLI version:      2.4.0
WP-CLI Commands
You can see a full list of WP-CLI commands by running wp help inside your Chassis box. Some common commands are as follows:
wp config list- Lists variables, constants, and file includes defined in wp-config.php file.wp cron event list- Lists scheduled cron events.wp cron event run- Runs the next scheduled cron event for the given hook.wp plugin list- Gets a list of plugins.wp plugin install <plugin_slug> --activate– Install and activate a plugin from the WordPress plugin directory.wp post list- Gets a list of posts.wp post-type list- Lists registered post types.wp search-replace <old> <new>- Searches through all rows in a selection of tables and replaces appearances of the first string with the second string. Add the--dry-runparameter to test without making changes.wp shell- Evaluate PHP statements and expressions interactively, from within a WordPress environment. e.g.get_bloginfo( 'name' );wp site empty- Empties a site of its content (posts, comments, terms, and meta).wp site create --slug=awesome- Creates a site in a multisite installation.
There is extensive documentation and examples of all the WP-CLI commands on the WP-CLI website.
WP-CLI Packages
WP-CLI has additional WP-CLI packages which can be installed to add additional helper commands for your WordPress development needs.
We have made a Chassis WP-CLI extension that allows you to automatically install WP-CLI packages which have been published in the package index.
For example you could add the following section to one of your .yaml configuration files to automatically install the Chassis WP-CLI extension and the WP-CLI Server command.
wp_cli:
 packages:
     - wp-cli/server-command
     - wp-cli/restful
Setting up SSL
To add an SSL to Chassis you need to do the following steps:
Add
- chassis/chassis_opensslto one of your.yamlconfiguration files or rungit clone https://github.com/Chassis/chassis_openssl.git extensions/chassis_openssl.Run
vagrant provision. This will create avagrant.local.certor<yoursitename>.local.certand avagrant.local.keyor <yoursitename>.local.key in the root directory of your Chassis folder.Modify the
WP_SITEURLandWP_HOMEconstants to usehttps://instead ofhttp://.If you are using a Mac run
sudo security add-trusted-cert -d -r trustRoot -k /Library/Keychains/System.keychain <yoursitename>.local.key.If you are using Windows run
certutil -enterprise -f -v -AddStore "Root" "<yoursitename>.local.key".Alternatively, you can read the Chassis OpenSSL readme for GUI options.
WordPress Core Development
We have created an official Chassis extension for [WordPress Core](https://github.com/Chassis/core_dev) development. Follow the instructions in the README to get setup and help contribute to [WordPress Core](https://make.wordpress.org/docs/handbook/devhub/#to-get-involved).
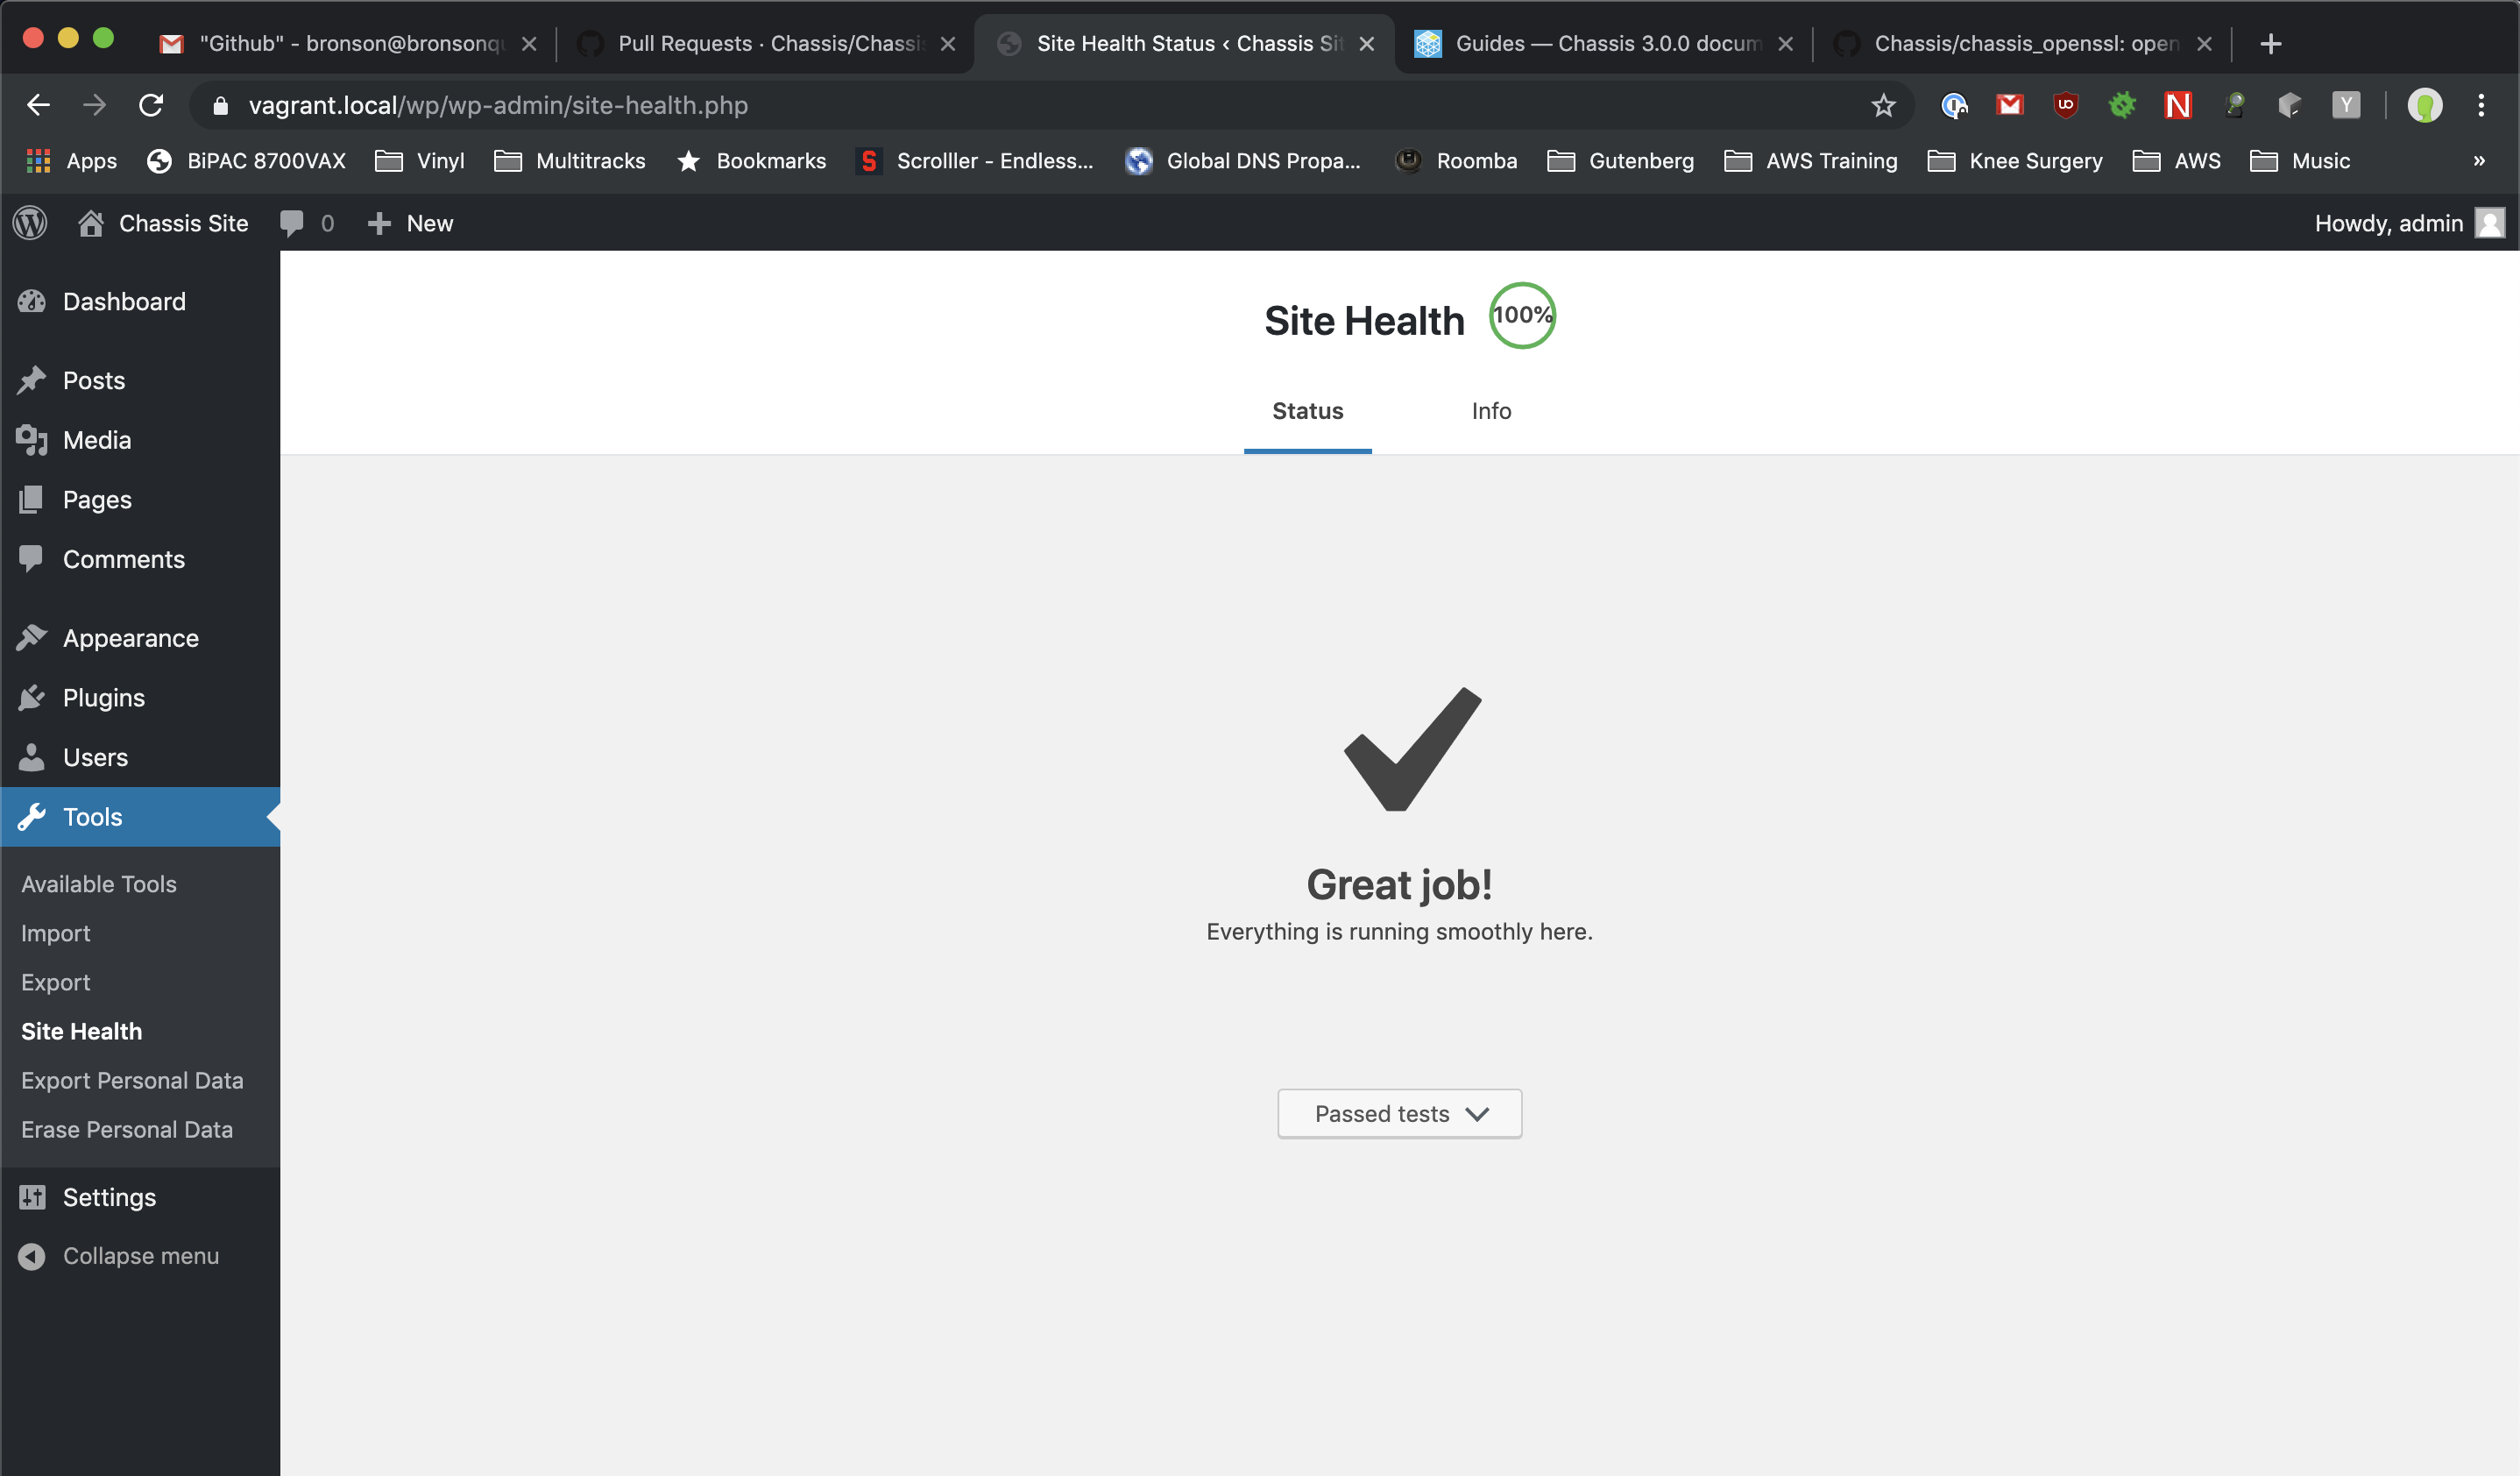
Site Health
Out of the box Chassis will not meet the Site Health requirements checks in WordPress core. If you’d like to achieve 100% Site Health you will need to do the following:
Create a local-config.php with the following constants:
<?php
define( 'AUTOMATIC_UPDATER_DISABLED', false );
define( 'WP_DEBUG_LOG', false );
define( 'WP_DEBUG', false );
Delete the inactive themes and plugins in both content and wp/wp-content.
Create a yaml configuration file with the following extensions:
extensions:
    - chassis/chassis_openssl
    - chassis/imagick
    - chassis/bcmath
Run
vagrant provision.Follow the Setting up SSL guide to setup your site for SSL.
Create a file called
ssl.phpin content/mu-plugins with the following contents:
<?php
add_filter( 'https_ssl_verify', '__return_false' );
Caution: Delete your
.gitfolders.You’ll now have 100% Site Health!
Tester Extension
The Tester extension adds and configures PHPUnit for WordPress tests. You can install other extensions if you want, but there’s nothing else required.
Configuration
Save this configuration as config.local.yaml in the Chassis root directory to configure Chassis to look for WordPress in your wpcore/ checkout.
paths:
    # Use the Chassis box normally...
    base: .
    content: content

    # But use my development copy of WordPress for the WP source
    wp: ../wpcore/src

# Also use your development copy of WordPress for the unit test
# framework, and for the unit tests themselves
synced_folders:
    ../wpcore: /vagrant/extensions/tester/wpdevel

# Set the host to ``core.local`` to distinguish from other chassis boxes
hosts:
    - core.local

# Explicitly set database configuration to avoid warning with Tester
database:
    name: wordpress
    user: wordpress
    password: vagrantpassword
    prefix: wp_

# Run in multisite mode (totally optional)
multisite: true
WordPress will now be loaded from the wpcore/ checkout, not the wp/ directory within Chassis. However, in order for WP-CLI and other tools to be able to find Chassis’ wp-config.php we need to add a dummy configuration file at wpcore/src/wp-config.php:
<?php
// Fool WP-CLI into recognising this as a valid config file
if ( false ) {
    require ABSPATH . './wp-settings.php';
}

require '/vagrant/wp-config.php';
In normal circumstances editing Chassis’ own wp-config.php file is discouraged in favor of using local-config.php. However in this case you’re working around WP-CLI with the dummy wp-config.php file, so you will need to make one change to Chassis’ own wp-config.php file to wrap the line which requires wp-settings.php in a conditional check:
if ( ! defined( 'WP_CLI' ) ) {
    require_once( ABSPATH . 'wp-settings.php' );
}
This will prevent WP-CLI from loading wp-settings.php twice.
With this configuration you should now be ready to develop against WordPress Core.
Testing a Chassis site from a Windows Virtual Machine
When developing on a Mac or Linux host system, you may want to verify your website works properly in Internet Explorer or other windows-only browsers. Microsoft helpfully provides [virtual machine images for testing in Legacy Edge and IE11](https://developer.microsoft.com/en-us/microsoft-edge/tools/vms/). The following instructions detail how to access your Chassis site from within a browser running in a separate Windows 10 virtual machine.
Get your Chassis machine’s IP
From the command line within your Chassis folder, run
vagrant ssh -c 'ifconfig'. This sends a message into your Chassis environment to output the VM’s internal network information. What we’re looking for is the IP address assigned to the VM, which in our example case looks like this:eth1 Link encap:Ethernet HWaddr 08:00:27:5d:c7:4f inet addr:172.28.128.17 Bcast:172.28.128.255 Mask:255.255.255.0
Boot your Windows VM
Tell Windows the IP for your Chassis VM
Now that Windows is running and we’ve got our IP (
172.28.128.17in this example), right-click on Notepad within your Windows VM and select “run as administrator”. Once Notepad is open, go to “Open a file”.In Notepad’s “open file” dialogue, navigate to the folder
C:\Windows\System32\drivers\etc. This folder may appear empty. This is a trick: it is not empty.Type “hosts” into the filename dialogue,
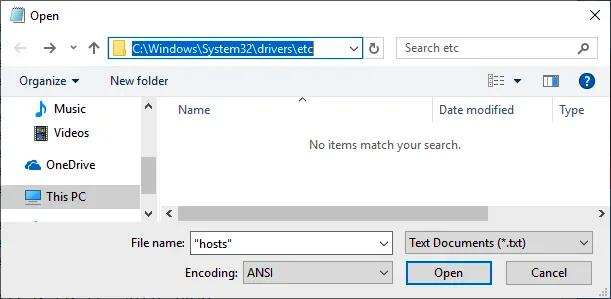
then hit “Open” to open the hidden hosts file.
At the bottom of the file, add the IP from step 1 alongside your Chassis system’s hostname. For example,
172.28.128.17 chassis.localTest your Chassis site in IE or Edge
If you open a browser within your Windows VM and navigate to chassis.local, it should now connect to your Chassis site.
Note: Windows will not be able to access other services running on your host OS, such as Webpack DevServer. For this reason, it is usually best to test IE and Edge using a static production build of your web application.
Debugging
If you see an error when you run vagrant provision then try running it again.
If you’re still having trouble accessing the URL try a vagrant reload after you’ve run a successful vagrant provision